I love makeup! I’ve been wearing makeup every day since I was fourteen and I would say that it feels more natural for me to have makeup on my face than being makeup-free. It’s just my thing.
I also have eye allergy issues. So annoying. Dust is a major culprit. Whenever I’m exposed to certain types of dust or another allergen, my eyes water non-stop for hours. HATE IT. What’s worse is when the eye watering begins and then I go outside into bright sunlight. Buh bye makeup!
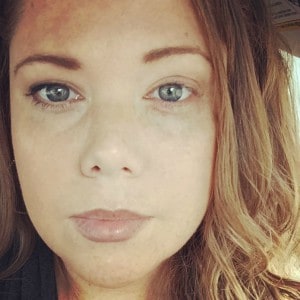
That exact scenario happened a few months ago. My eyes were acting up a bit as I loaded my preschooler into the car and dashed off to church, for which we were running late. We live in the country and drive to the city for everything (church included), so this particular little 45 minute drive to church with one eye watering uncontrollably was BRUTAL. My eyes were stinging so badly that I fumbled around the car while stopped at a traffic light until I found a paper towel that I then held to my eye the rest of the drive. Once we arrived to church I felt a lot better, but I looked like this:
Neat, huh? Use your hand to cover one side of my face then switch it to the other side. Repeat several times for a fun game of “make up… no makeup! Make up… no makeup!”
My eyes felt completely fine upon entering the church building. Never mind the strange girl wearing sunglasses in the very dimly lit church sanctuary. Just you never mind.
THAT is why I now always always always have an emergency makeup kit in my bag. Makeup on only one eye is not a look I can pull off well.
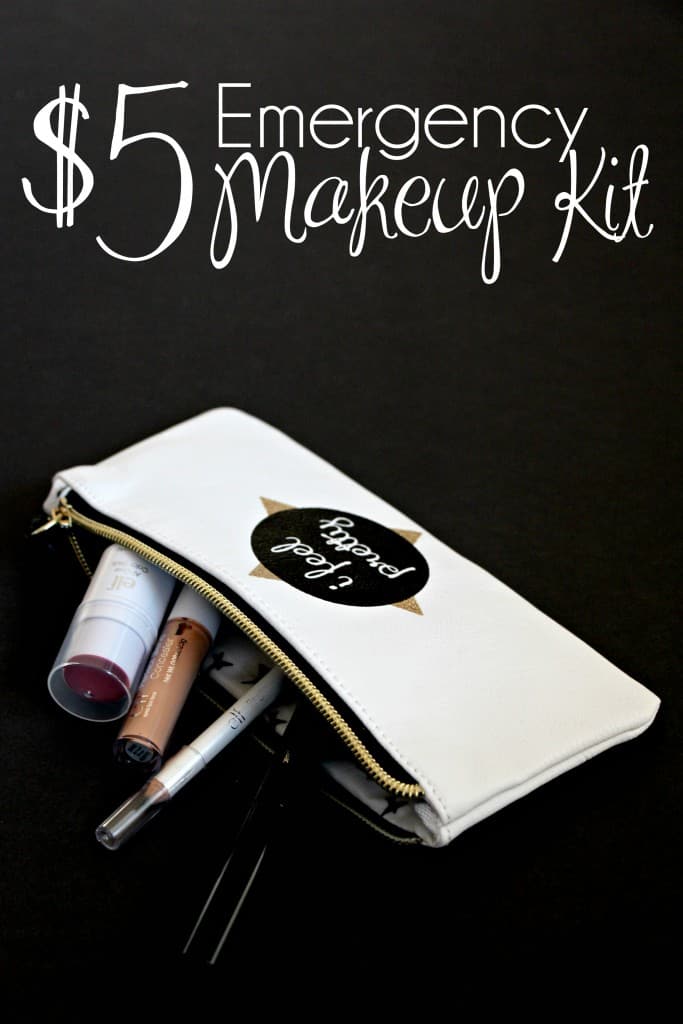
Now, I’m not about to spend big bucks on makeup just to carry around in my purse. Nope, I’m too smart for that. Instead I went about collecting awesome items that work very well but very cost little. I spent a total of $5 for my emergency makeup kit. Want to make one too? Here’s how:
Step 1: The bag
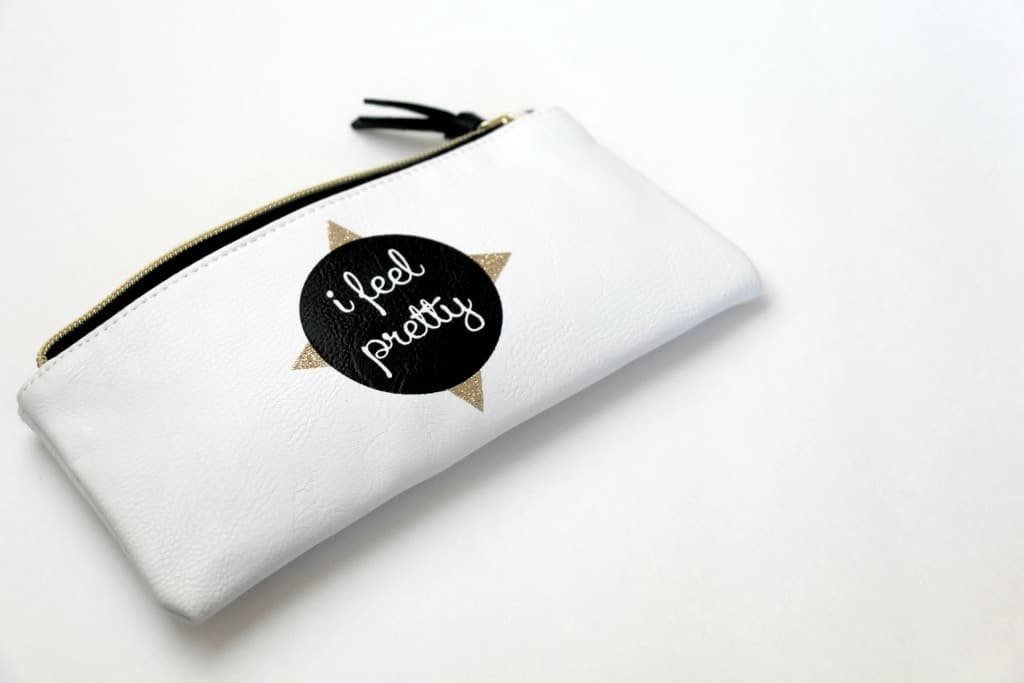
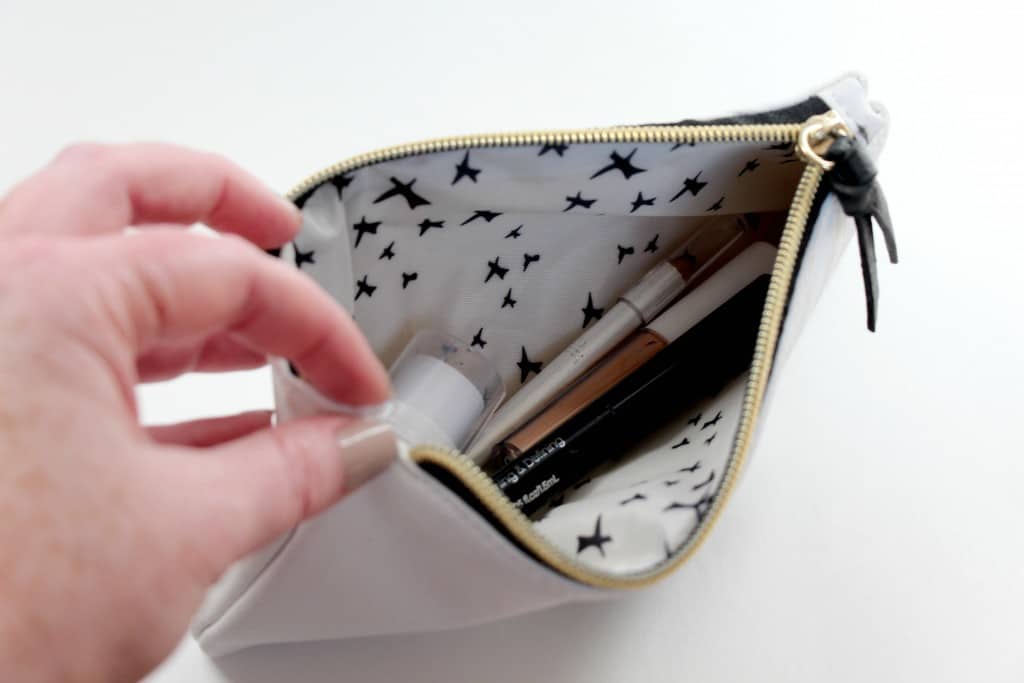
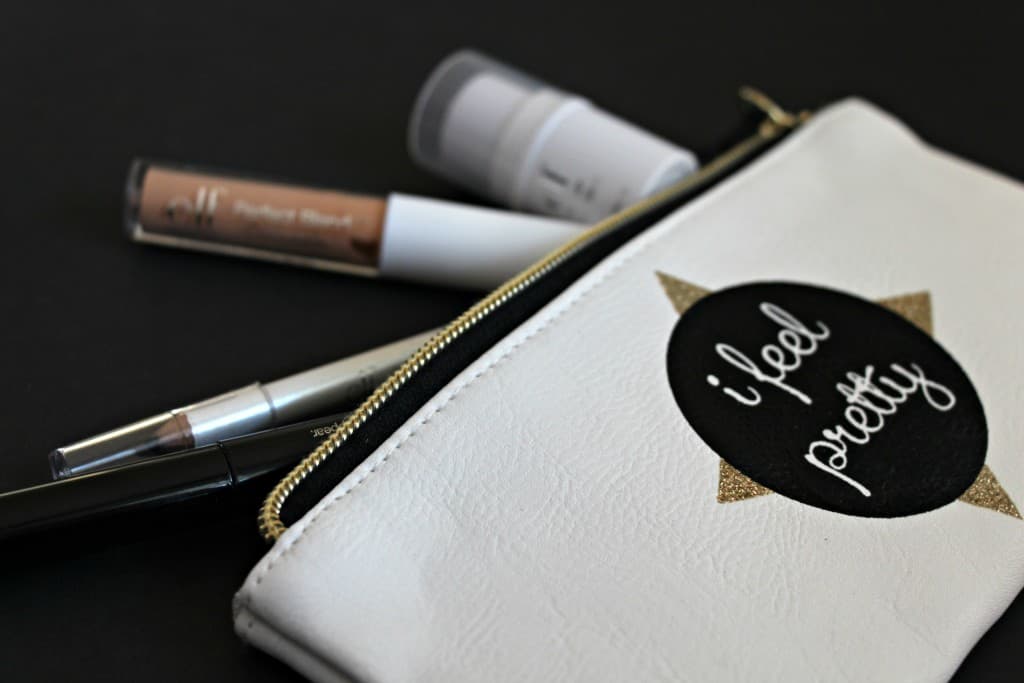
I bought this cute little bag a while back at Charming Charlie on clearance. I think it was $3.99, but since I already had this on hand when I was making my emergency makeup kit I did not count that into the $5 total budget.
Look around your house for a small bag with a zipper that will hold your emergency makeup. A really great idea would be to use a Ziploc bag. The benefits of a Ziploc are that it doesn’t cost you much at all, it can be easily changed out if the bag gets messy, it’s clear so you can see the bags contents right away, and it will travel well if you fly often. Sure, a clear plastic sandwich bag isn’t as cute, but whatevs.
Step 2: Makeup
I love a bargain, but usually the cheap makeup is crap. Let’s just be honest about that. The main exception is e.l.f. Cosmetics. LOVE their stuff! Most of what I’ve tried from e.l.f. I’ve really liked.
I have been buying e.l.f. for over 10 years. Back in the day I could only find their products on their website. Now I’m so happy to be able to pick up some e.l.f. at my local Walmart or Target. Win!
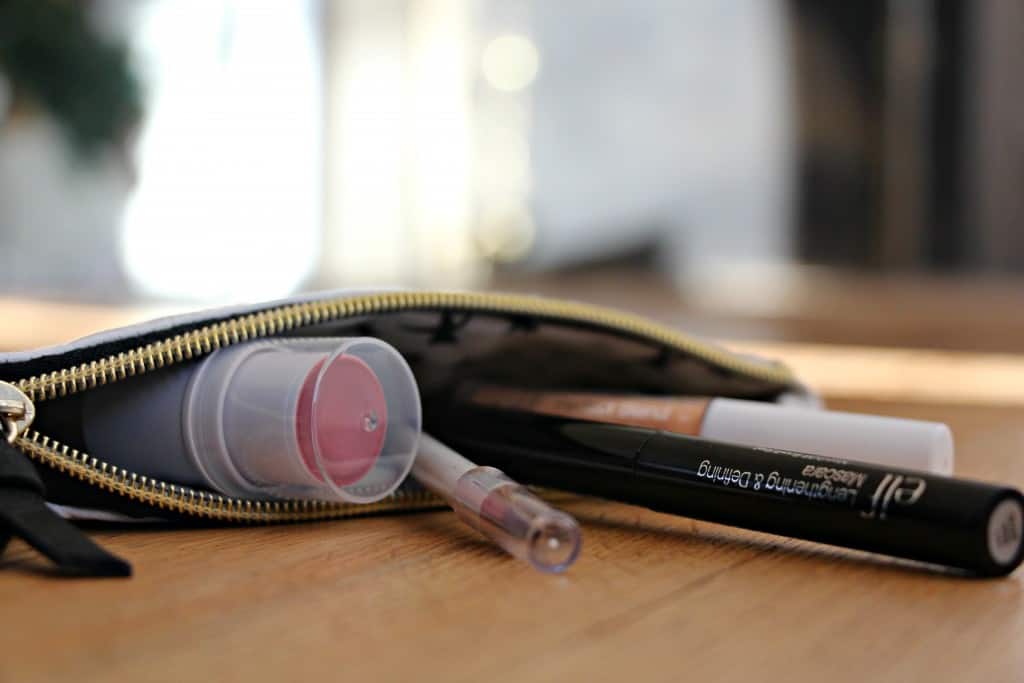
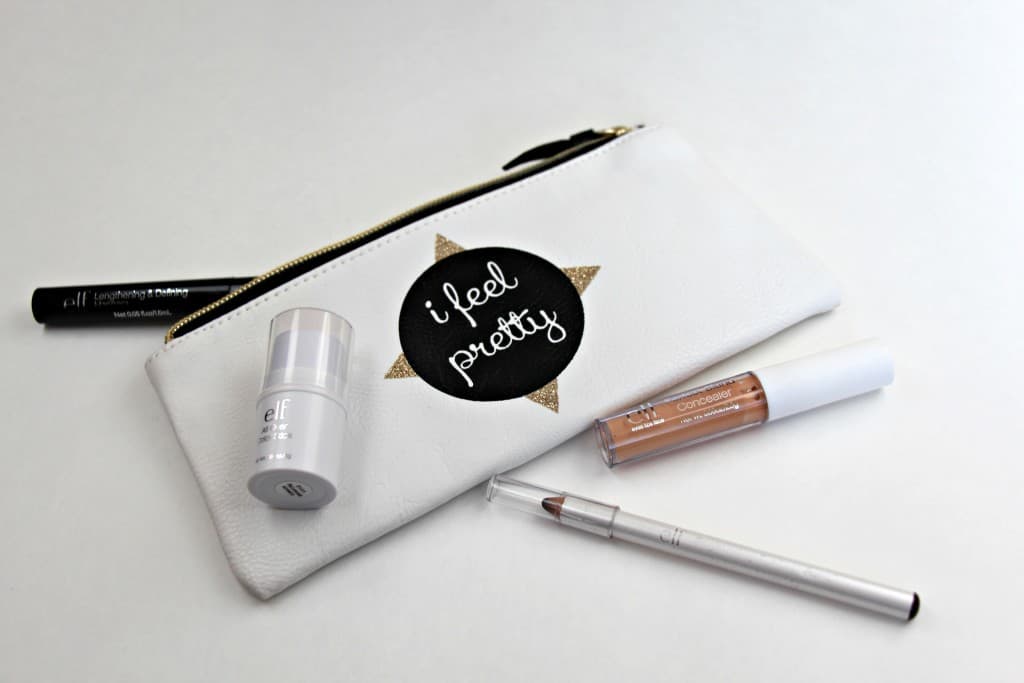
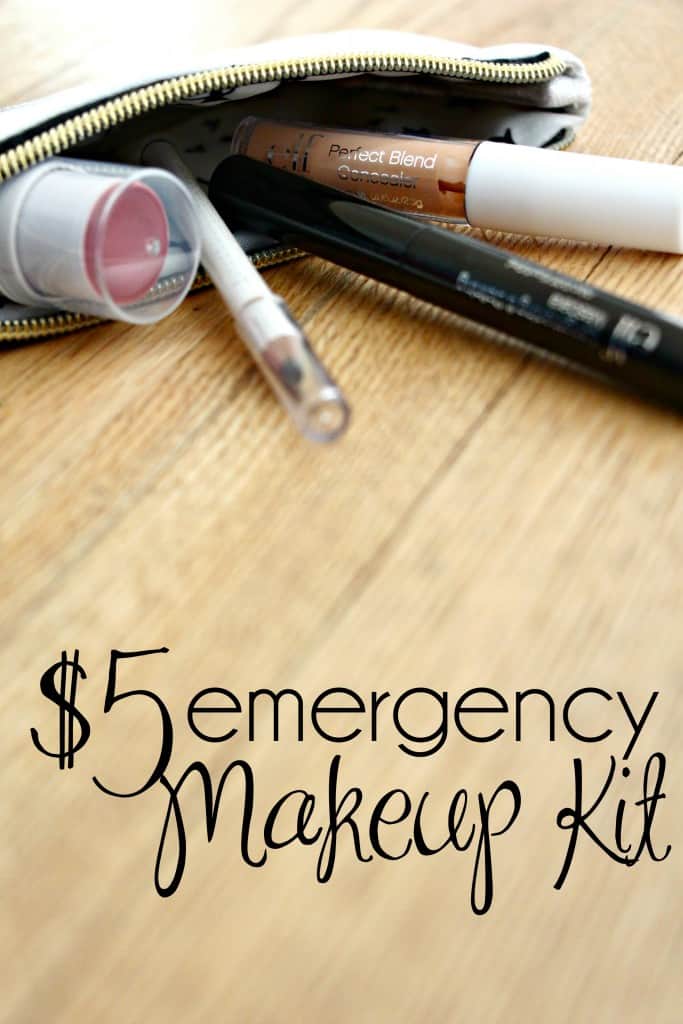
For my emergency makeup kit I included only the basics:
- Mascara – Black is the only color I use.
- Eyeliner – Brown eyeliner is my secret weapon! I use it for its obvious intended purpose, but also to shape my eye brows and to darken my lip color. Don’t use brown eyeliner as lip liner… just don’t.
- Concealer – Cover up a blemish, brighten your eyes, or mix with a small amount of fragrance free lotion to make an emergency tinted moisturizer.
- Cream Blush – This is another multi-purpose item in my makeup kit. I use it for brush, lip color, and eye shadow.
There you have it; all the basics for just $5!
I should also mention that I am never without lip balm and lip gloss in my purse, so I didn’t include those on my list even though they’re super important.
Check your makeup kit at home for any extras that you don’t need but could be useful in your emergency makeup kit. Sample size cosmetics are very useful for this little makeup kit too.
What cosmetics do you keep in your purse at all times?


You are SO SMART! Excellent idea!
What a smart idea! The bag is cute, too 🙂